On these  dark winter day, let’s bring a little light to the school and make a project with bright, bold colors!
This month, we’re making paper molas. This style of art developed when Kuna women in Panama used bright fabric to depict the Kuna culture with the influence of the modern world.
What you’ll need:
Dark colored construction paper (8.5×11) – black, navy, or dark gray
glue sticks
scissors
construction paper to cut out an animal or shape
small scrap paper for students to cut into small pieces to surround the animal or shape
The lesson:
For younger classes: you can either cut animal shapes before hand or have students use their first name initial cut out of construction paper.
For older classes: have students draw their own animal or shape (flower, tree, cactus, etc). Once they are happy with their drawing, have them cut out the shape. Make sure their shape will fit nicely centered on their background paper.
Glue the shape into the middle of the paper. Make a border with construction paper that contrasts the shape cutout. Then have students fill in the background around the cutout (inside the border) with small rectangles until the background is completely filled. Use the small rectangles to decorate the shape cutout.
Happy creating!
 month, we’re using Japanese block printing for the inspiration for our project. Wood block prints from the Edo period in Japan are in the ukiyo-e genre.
 Once they have practiced and are happy with their animal, have them “draw” it into the scratch foam. A word of caution: too much pressure when the kids are drawing on the foam will cause it to tear or poke through the foam. Too light on pressure, and you won’t be able to see the lines of the animal. They are looking to indent the foam.
 am with their animal drawing, use a brayer to roll into the paint. Then, roll the paint on to the foam. After the foam is coated in paint, place the light colored construction paper on top of the painted foam. Press down firmly and smooth with your hand.


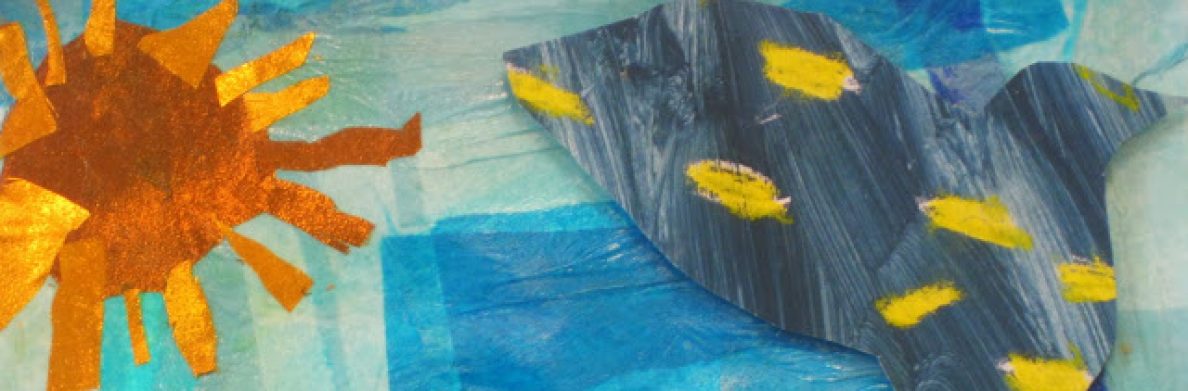
 First, have students paint one piece of paper with blue water color. This will be their daytime sky for the bird. Once painted, set it aside to dry. As the watercolor paper dries, have students layer tissue paper on the second piece of paper. Ideally, the bottom would have brown or green tissue paper to be the ground, and the sky above it can be various shades of blue, or for a sunset sky pinks and purples. To layer the tissue
  paper, use the sponge brush to paint glue on the paper, then stick the tissue paper on top of the glue. Layering tissue paper on top of other color will give the sky dimension.