This is a perfect project to introduce students to abstract water color painting. The salt on  the wet watercolors creates dimension to an otherwise flat watercolor painting. When added to wet watercolors, the salt absorbs the water, and you’re left with light spots where the salt absorbed water! A very cool science and art intersection.
What you will need:
Watercolor paper (either cut into greeting card size – 2.5 x 3.5 inches (at this size, students can do two) – or 8.5×11 inches (at this size, students can do one)
Liquid watercolor paints
paint brushes
kitchen salt (in the art room!)
white or lighter blue card stock (not water color paper!)
snowflake paper punch 0r scissors
The Prep:
Cut the water color paper to the appropriate size. Set out a variety of liquid water color paints for students. The more vibrant, the better. Green, blue, yellow, pink, purple, orange, and red are all good options. Put the salt into small cups for each student to sprinkle on their wet watercolors.
The Lesson:
First, students will cover their card with bright “blobs” of color. Next, while the paint is still wet, have them sprinkle salt on the card and set it aside to dry. As the painting dries, you’ll start to see the texture appear.
As the paint is drying, have students cut out snowflakes to glue on top of their water colors. You can either use a scrap-booking paper punch or have student fold their paper and experiment with cutting out their own snowflakes. Snowflakes should be small enough to have one or two per painted card (smaller sized cards).
Once the painting is dry, have students arrange and glue their snowflake on top of their watercolor painting.
Happy creating!
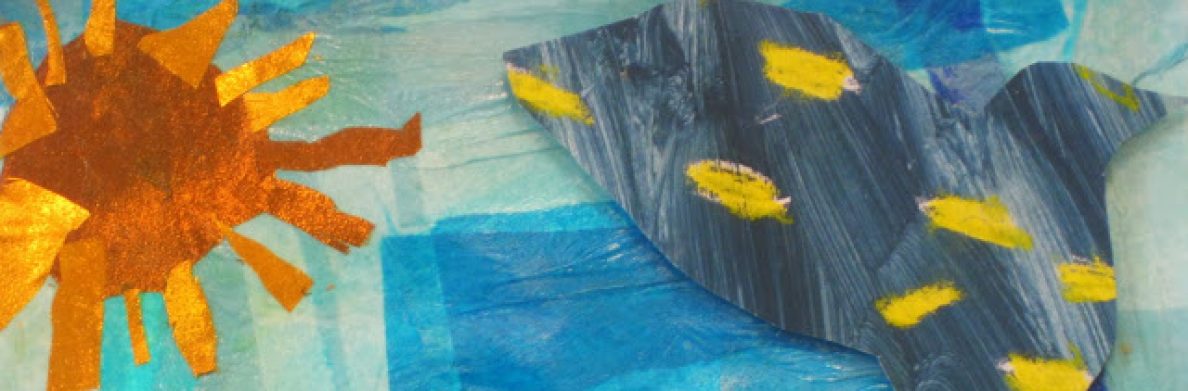
 . This project is great for raiding the recycle bin, and using all kinds of textured and colored paper to create a very cool landscape picture.
 To begin, make sure each student has a background color. A lighter shade of blue works great, because you can use that for the sky.